We’ve all been there. After spending time and money buying fruits, veggies, and other healthy foods, you haphazardly toss everything into the fridge, where it goes bad before it gets eaten. Don’t fret. Here’s a four-step plan to organize your fridge and get you on the road to cooking healthy meals—all while reducing food waste.
Step 1: Purge Unhealthy and Expired Foods
As food and wellness blogger Kristen Hong of Hello Nutritarian explains, it’s important to be mindful of how you stock your refrigerator: “Ask yourself, Does this serve my health goals? You want to put your best fridge forward,” she says.
The first step toward surrounding yourself with healthy food is to make room for it by ridding your refrigerator (and freezer) of unhealthy items. If you’re new to the whole-food, plant-based way of eating, remove all animal products (cheese, milk, yogurt, butter, eggs, meat, poultry, and fish), oils and oil-containing foods (such as salad dressings and margarines), and highly processed items (including highly refined sweeteners). “Read the labels, eliminate everything that’s not compliant, and start fresh,” says FOK chef and culinary projects manager Darshana Thacker.
Check all expiration dates and toss out anything past its prime. An easy place to start is with condiment shelves—the land of expired bottles and ingredients for recipes never made. “If you have a bunch of specialty condiments you use once in a blue moon, that space could be better utilized,” says Hong. “Give them to family members or neighbors.”
Decoding Expiration Dates
Here’s what various expiration dates actually mean, according to the USDA.
- “Best if used by/before” indicates when a product will be of best flavor or quality. It is not a purchase or safety date.
- “Sell by” tells the retailer when it’s time to rotate a product off store shelves. It is not a safety date.
- “Use by” is the last date recommended for the use of the product while at peak quality. It is not a safety date except for when used on infant formula.
- “Freeze by” indicates when a product should be frozen to maintain peak quality. It is not a purchase or safety date.

Step 2: Deep Clean Shelves and Drawers
Now that you’ve purged the unhealthful stuff, it’s the perfect time to give your fridge a deep cleaning. Remove everything that remains, take out the shelves and drawers, scrub them down with warm soapy water, and dry them off.
“Pay attention to where the airflow is in your fridge and make sure there aren’t any obstructions [in front of the vent],” Hong says. “Every model is different. You want as much airflow as possible, so remove any frost that has formed in that area.” Deep cleanings should take place once every three months—you can time it with the change of the seasons—and be followed up by a weekly wipe-down with a damp rag.
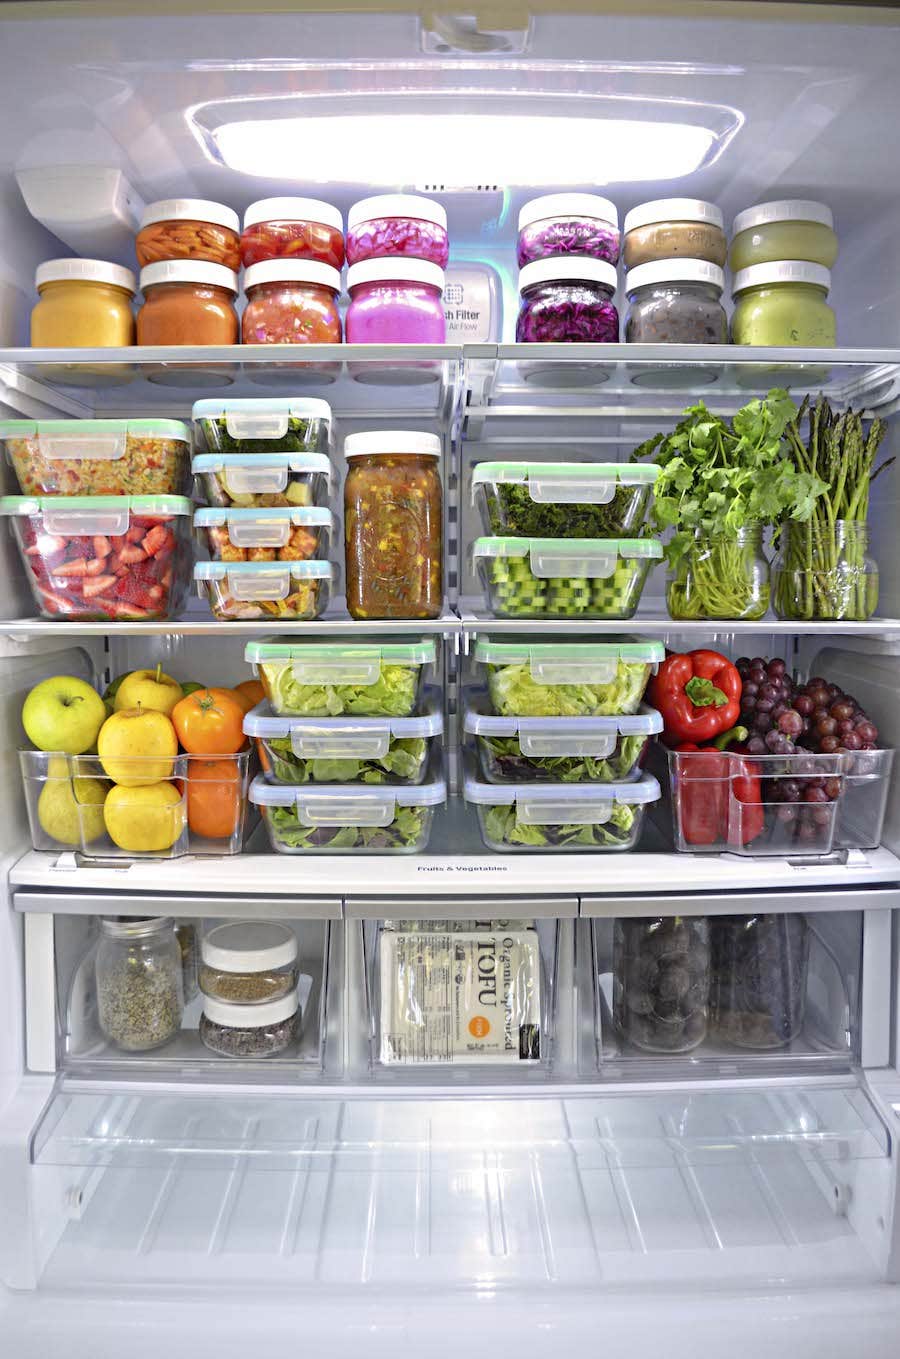
Step 3: Organize Everything That’s Left
Having your fridge arranged in an organized manner goes a long way in helping you stay on a healthy track. “The whole-food, plant-based way of eating often involves making your own food,” Thacker says. “To save time, it’s better to have ingredients in the refrigerator that are prepped and ready to cook with.”
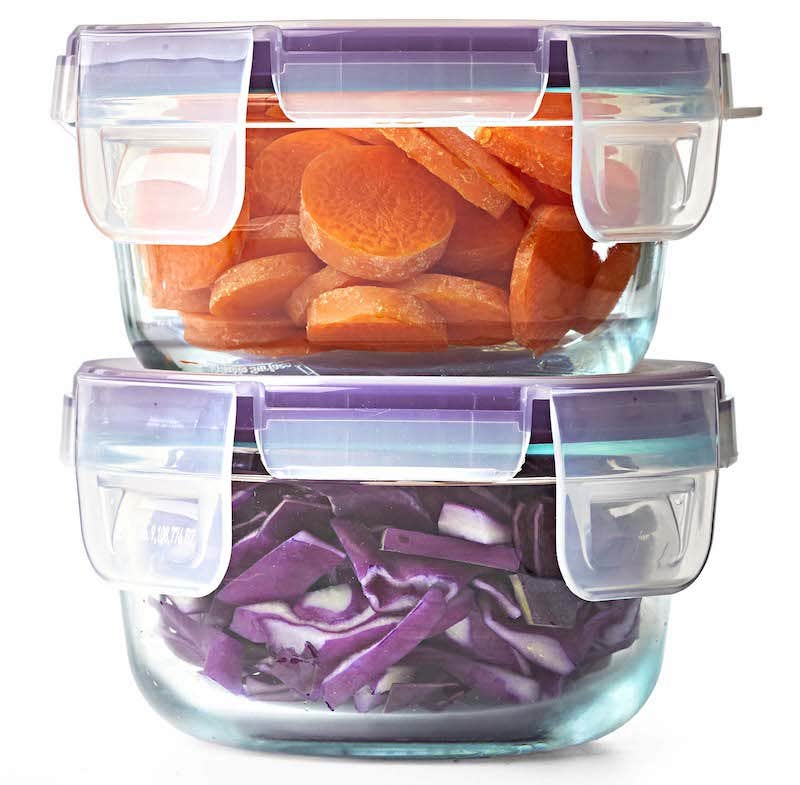
Glass storage containers make it easy to see what you have (and they’re dishwasher safe). The budget-friendliest option is wide-mouth Mason jars, which are available in various sizes and can be purchased in bulk online or at retail stores. “I like to replace the two-piece metal lids with reusable plastic tops,” Hong says. “It’s easier since I deal with opening and closing the jars daily.” Quart-size jars are ideal for soups and salad bar prep, while pints and half-pints are good for dressings, hummus, dips, and smaller portions.
If you want to invest more down the line, Hong recommends rectangular and circular glass snap-lock lid sets from Pyrex and Snapware. “I am a big advocate of glass storage containers in the fridge because they extend the shelf life of produce.”
Step 4: Prep and Store Fresh Produce for Easy Access
Once you return home from your weekly grocery trip, get ready for produce prep. “You want to plan so when you open your fridge, you should easily be able to identify your next three to five meals,” Hong says. “An in-fridge salad bar and a big batch of soup are two items I recommend because they make it easier to get a lot of vegetables in during the week. Have the salad items ready to go so when you’re making one for work or dinner, all you have to do is shake them out of the jars.”
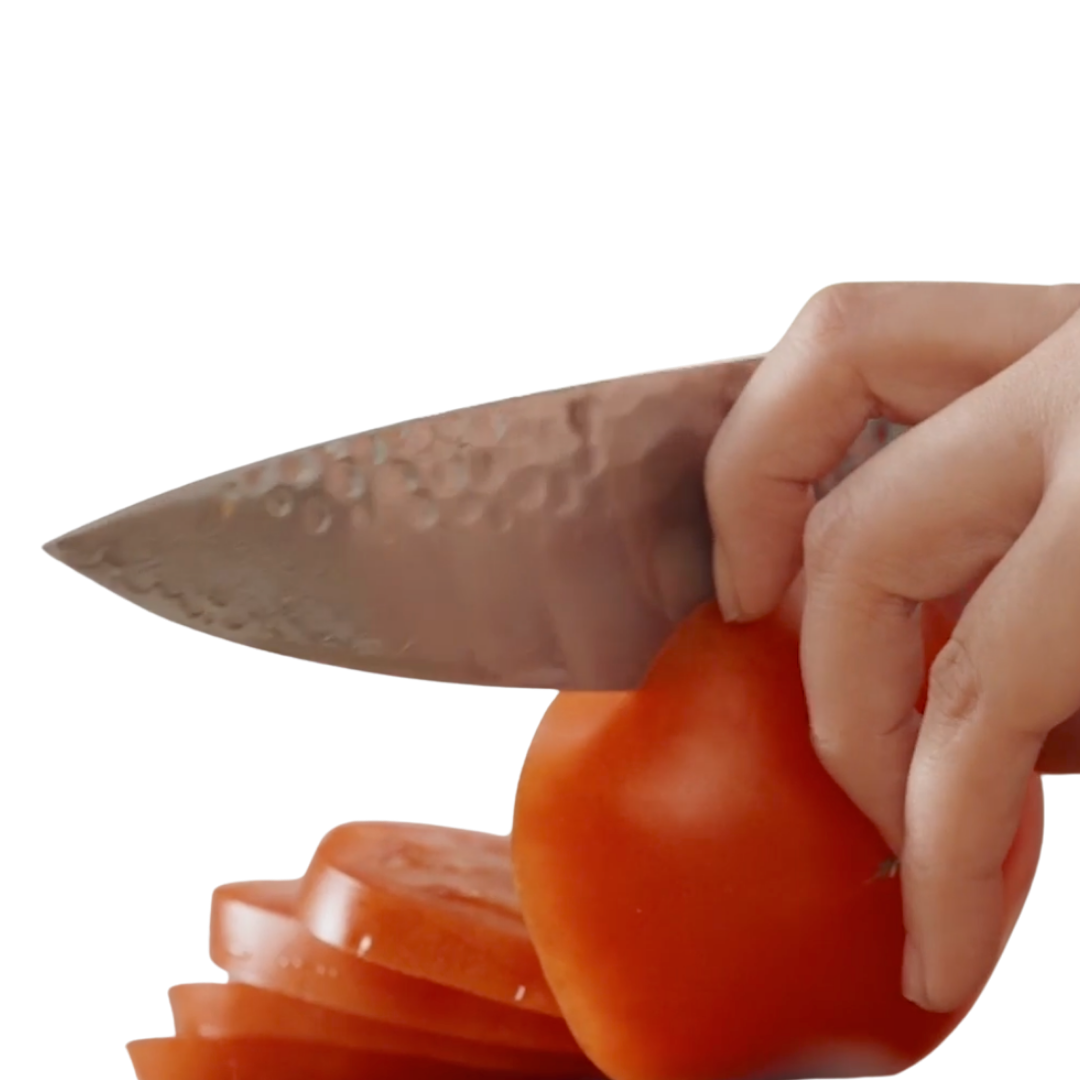
You don’t have to spend a lot of time, but prechopping items such as cabbage, cucumber, onions, broccoli, carrots, and celery and placing them in jars will expedite your cook and prep time during the week. Fresh herbs should definitely be dealt with the same day: Simply trim the stems, place in a Mason jar with water, and cover with a plastic bag you can wash and reuse.
“Ideally, you should store prepared food at eye level,” Thacker says. “It’s good to have it accessible so there’s a better chance of using it.” She also suggests stocking the freezer with frozen fruit and vegetables, pizza crusts, whole wheat bread, and tortillas. “Place a piece of waxed paper between the tortillas so you can use a few at a time and they won’t be stuck together,” she says.
Roasting veggies that are just a bit “less than” is a great way to utilize aging foods. “Sometimes if I have a rogue bell pepper and the skin is starting to get saggy, I'll roast it with lemon juice, tahini, and herbs,” Hong says. You can also make a “cleaning out the fridge” veggie soup or Buddha bowl.
Finally, make sure to label your jars—what they contain and when the food was prepped or cooked. Look for freezer labels or freezer tape; they adhere well and are easy to remove. Or try painter’s tape: Bright green FrogTape and a black Sharpie make a winning combination. Most WFPB ingredients can be stored in the freezer for two to three months.
“If your fridge is disorganized and you have containers of old, rotting food in the front and fresh vegetables in a drawer somewhere, it doesn’t make sense,” Thacker says. “You’re going to be making your own food, and with time constraints, you want to know where everything is.”
Ready to get started? Check out Forks Meal Planner, FOK’s easy weekly meal-planning tool to keep you on a healthy plant-based path. To learn more about a whole-food, plant-based diet, visit our Plant-Based Primer.

Related News


Get Our Best Price On The Forks Meal Planner

Forks Meal Planner takes the guess work out of making nutritious meals the whole family will enjoy.
Master Plant-Based Cooking!
Our new course features over 100 lessons, 50+ recipes, downloadable guides, and more!
