Finding that it takes you more time to chop and prep your ingredients than to actually cook them into a meal? This knife skills visual guide will sharpen your slicing and dicing techniques so you can cut down on your prep time and feel confident in the kitchen.
Read on to learn how to grip your knife and how to employ the most essential slicing methods—and why you should ditch the idea that you need an 18-piece knife set to cook like a pro.
How to Hold a Knife Properly: 3 Fundamentals
There are three fundamentals to properly grip your knife for maximum efficiency (and safety).
1. Find Your Grip
There are two ways to hold a knife. Both have their advantages, but the best way to grip a knife is the one that’s the most comfortable for you.
Handshake Grip
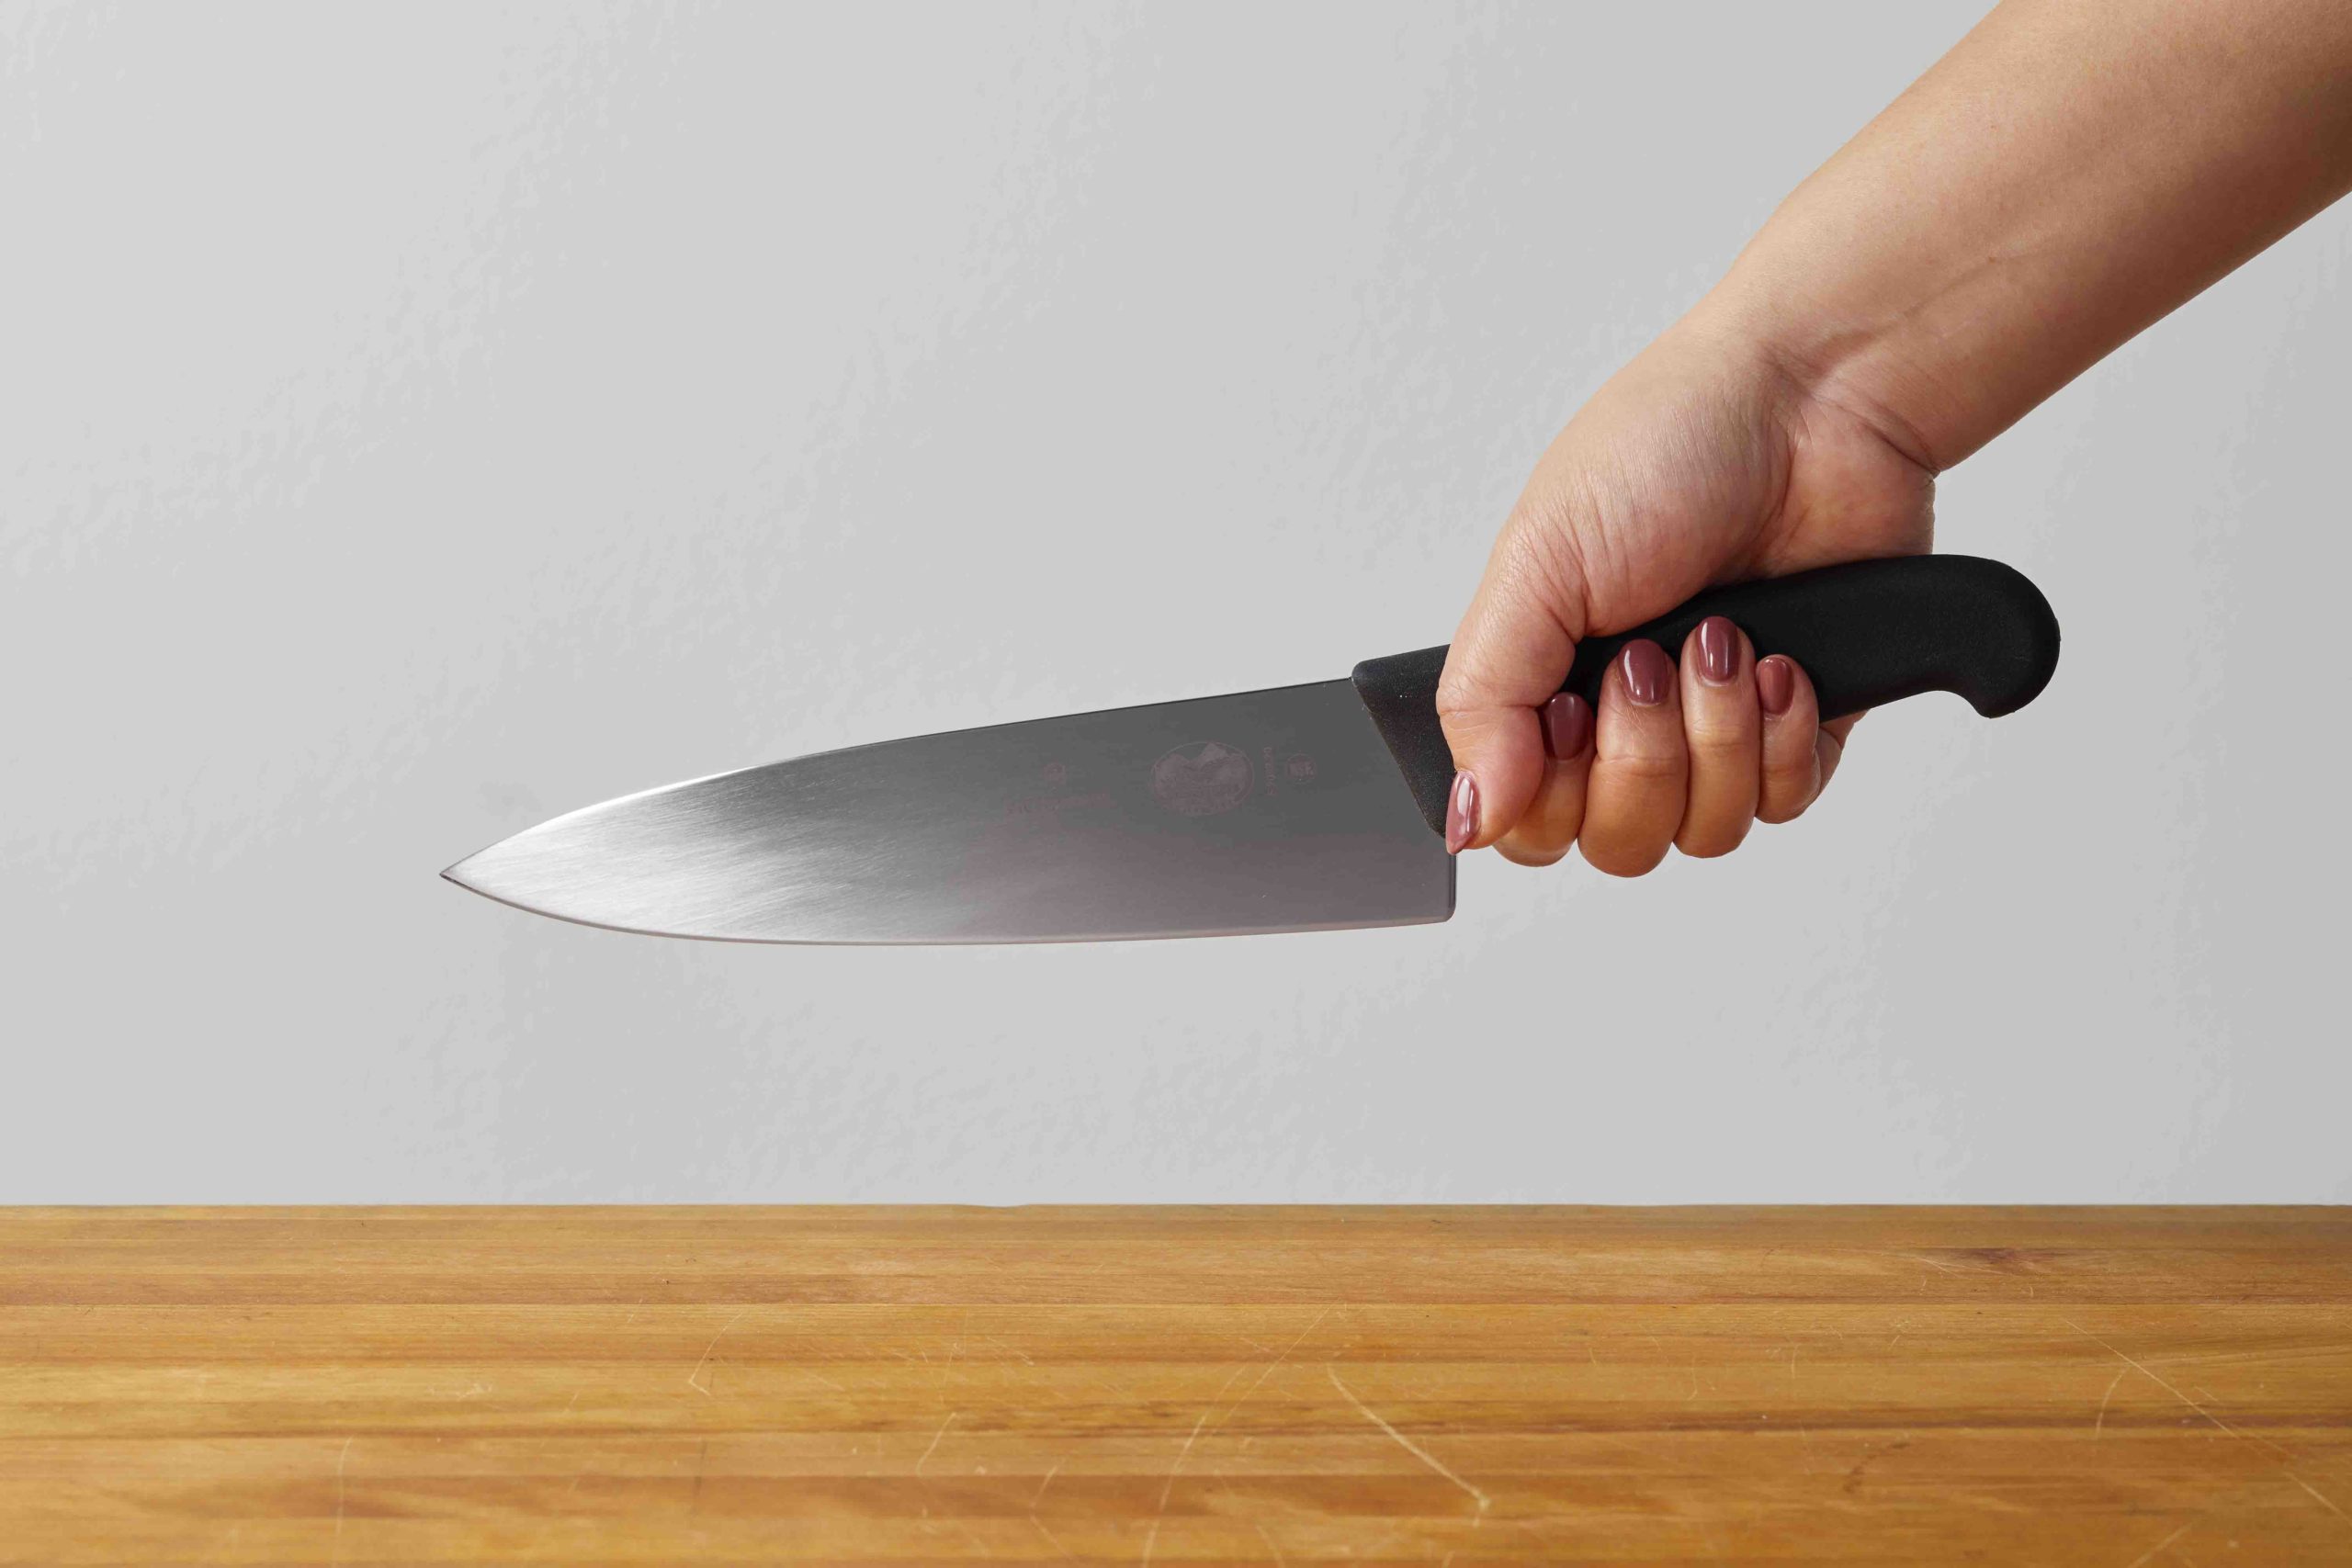
Wrap your hand around the knife like you’re shaking someone’s hand. This is the most intuitive and strongest knife grip, but what you gain in strength you may lose in precision.
Pinch Grip
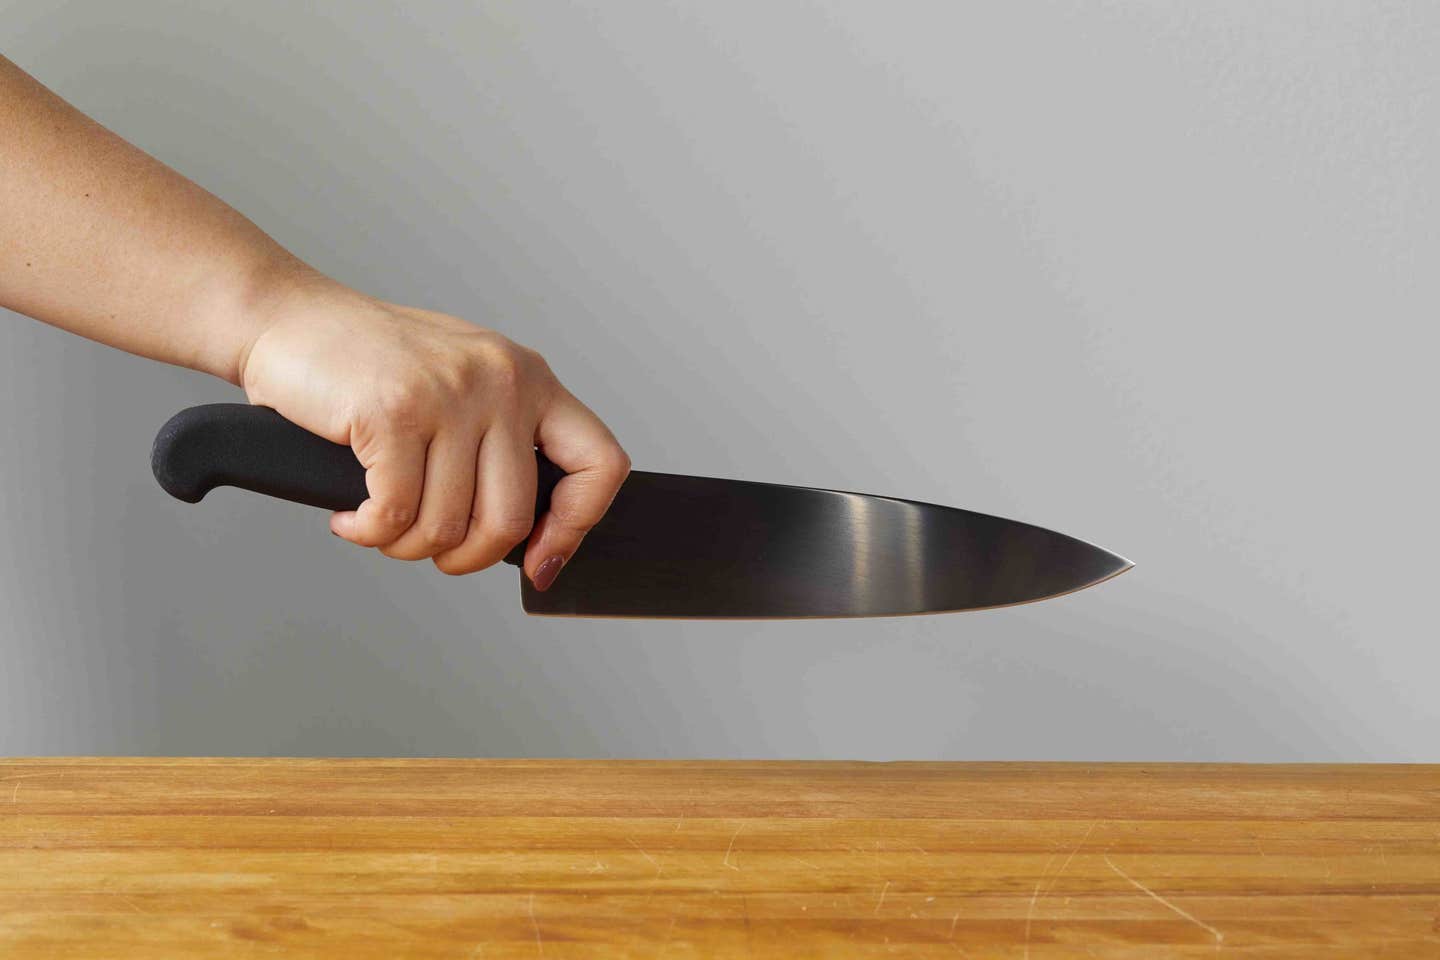
Pinch the blade of the knife just above the bolster with your thumb and forefinger, then wrap the other fingers around the handle. Professional chefs prefer this grip because it gives more control when chopping and mincing.
2. Create Stability
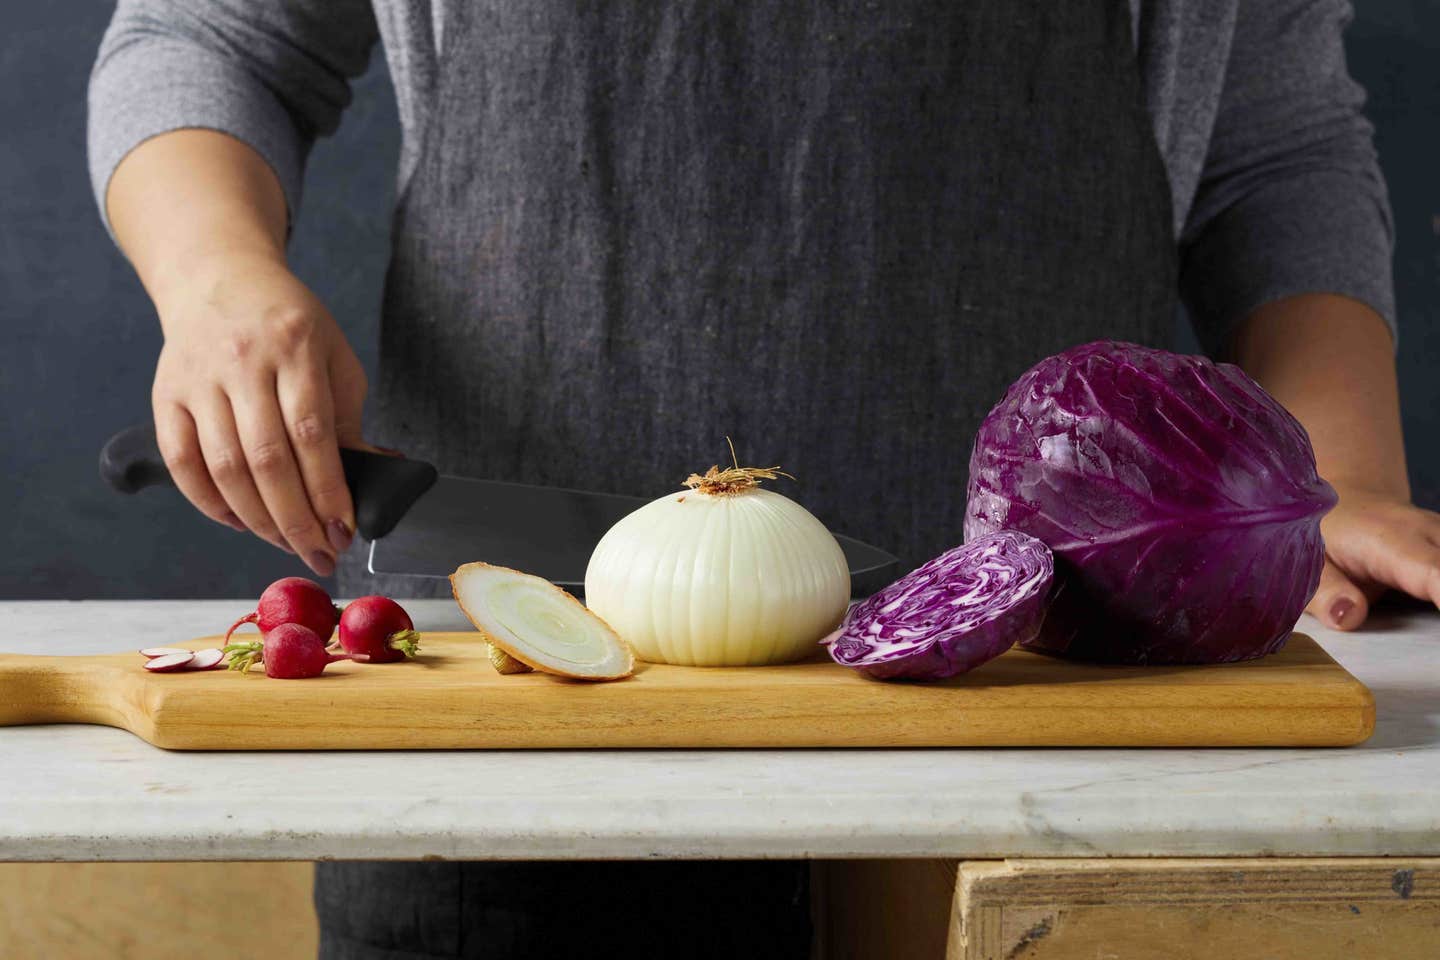
Fruits and veggies that wobble, slide, and roll around on a cutting board are hard to handle and can lead to accidents. If there’s no flat side, make one: Cut a thin piece off one side of round vegetables so they sit flat on the cutting board. Cut large items like winter squash or cabbage into halves or even quarters to get flat sides.
3. Master the "Claw"
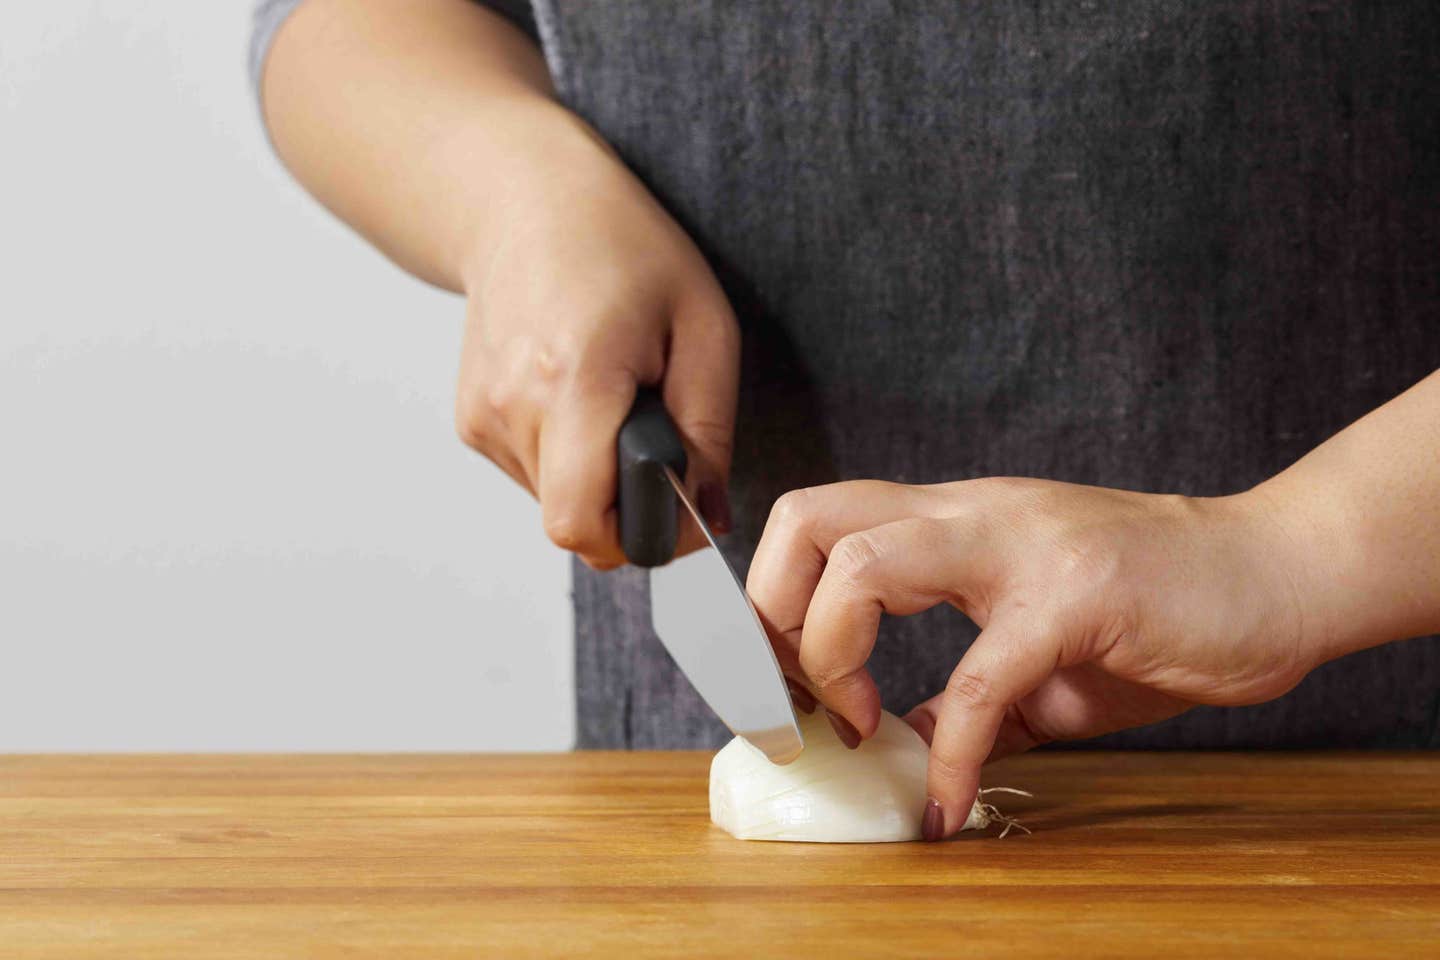
This finger-protecting technique is one of the first skills budding chefs learn in cooking school. It takes practice, but once you get the hang of it, it will become automatic. To do it, shape your free hand into a claw by tucking four fingers behind your middle finger. Tightly grip the food with your claw hand, using all five fingers to hold it steady, with the thumb and pinky finger stabilizing the sides. Make sure the fingertips are always farther back from the knife edge than the knuckles.
Basic Cutting Techniques
With these six basic cutting techniques in your arsenal, you can prep your ingredients for almost any use.
1. Slice
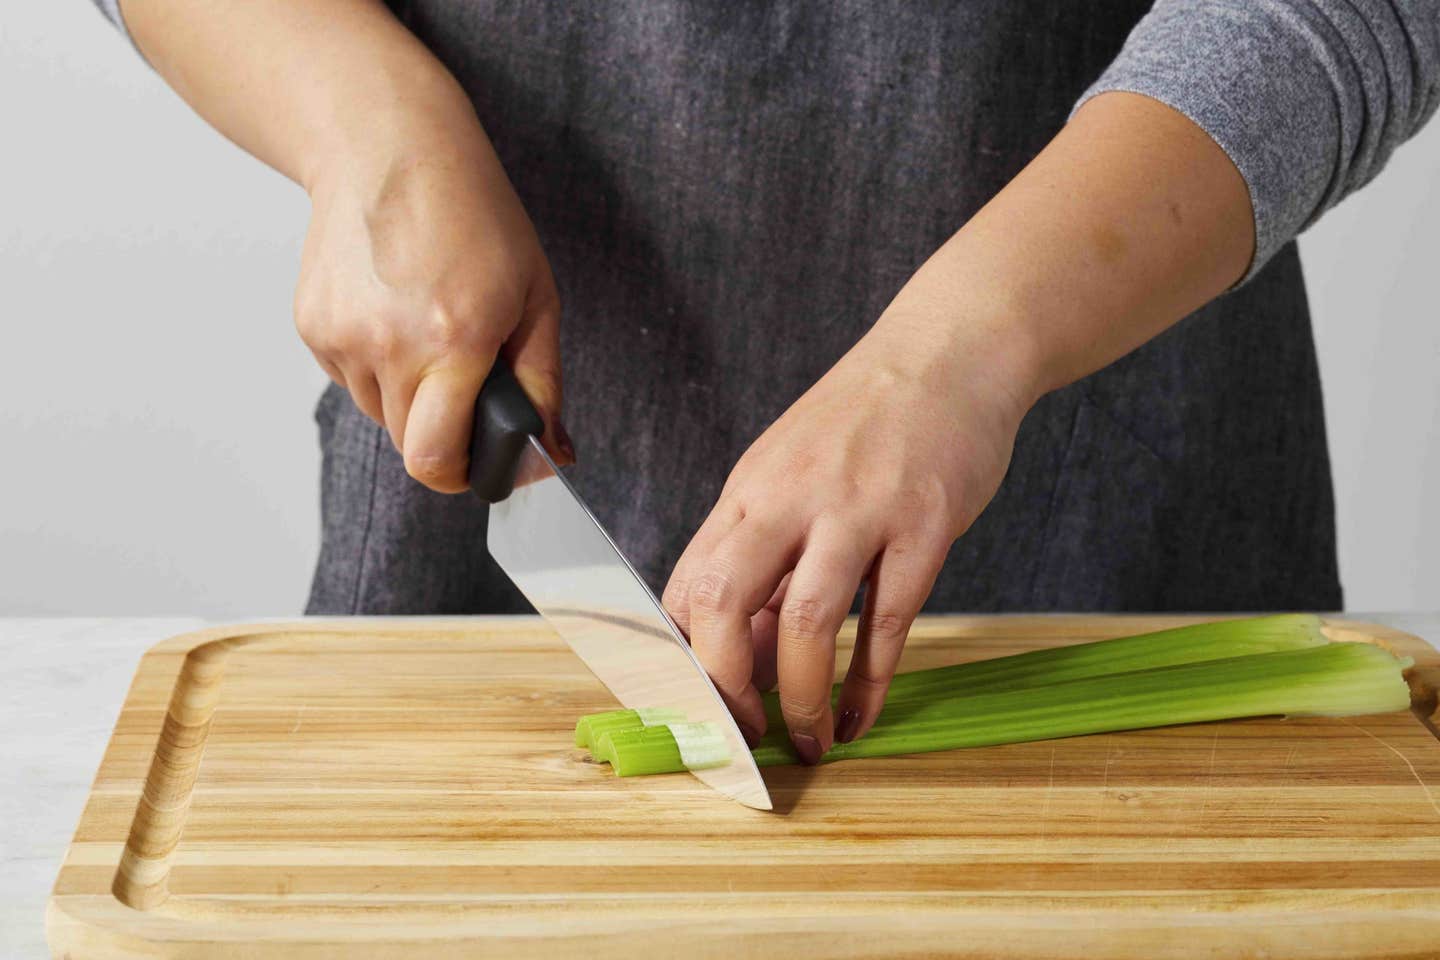
Everything starts with a good slicing technique. Move the knife in a rocking, tip-to-heel motion to cleanly slice a food all the way through. Slide the fingers of your claw hand back and move the knife (not the food) after each cut. Experienced chefs use the knuckle of their middle finger as a width guide for slices.
2. Bias Slice
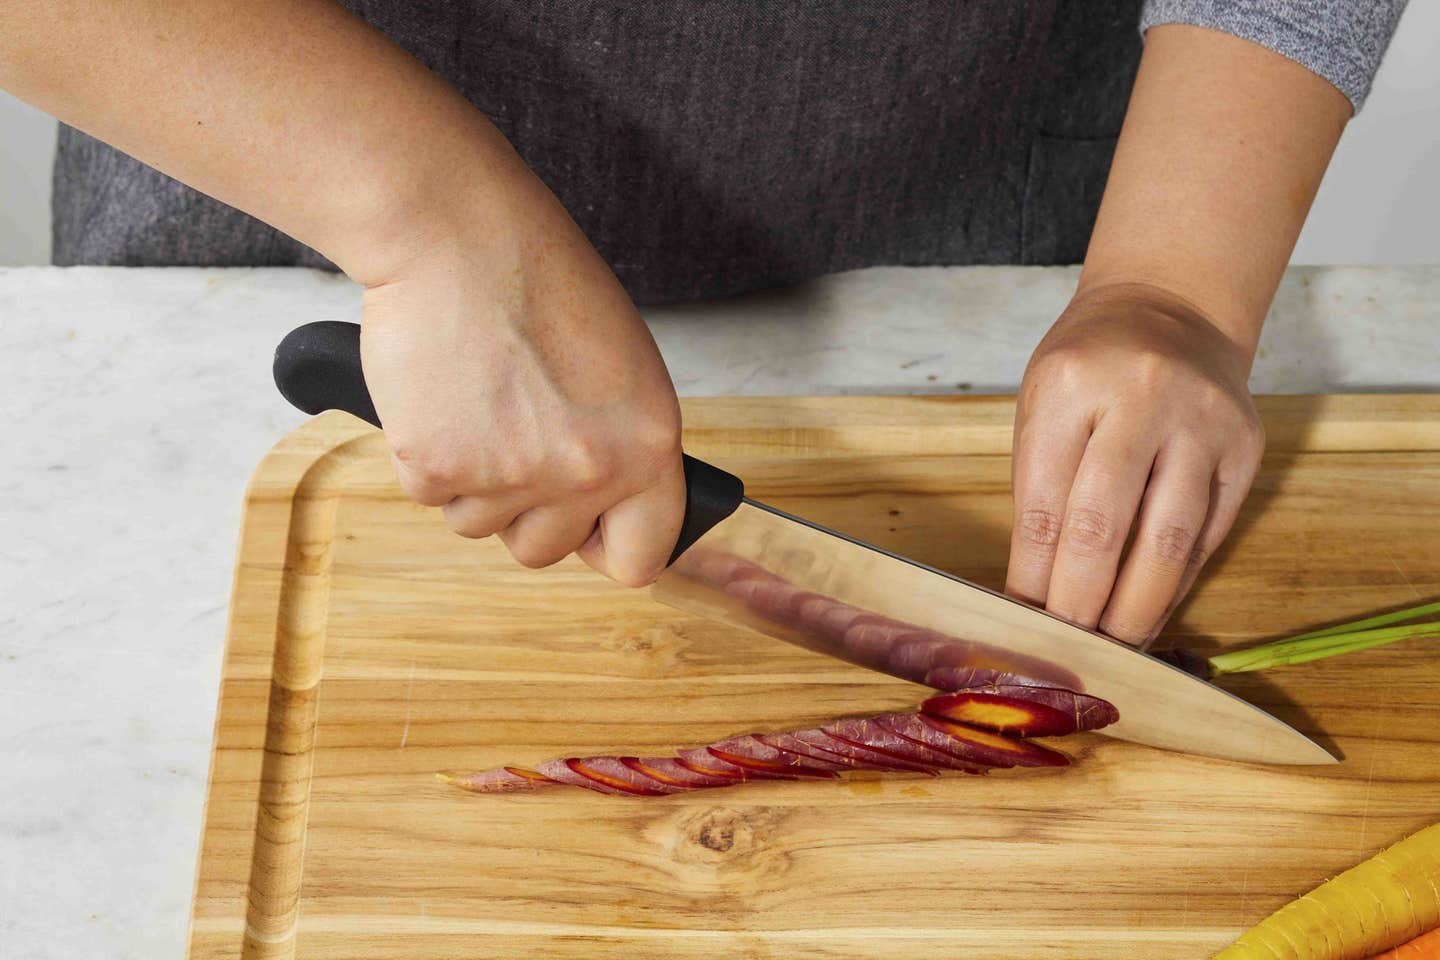
To get larger slices of elongated items like bananas, carrots, or cucumbers, cut them on the diagonal. The sharper the angle, the broader your slices will be.
3. Mince
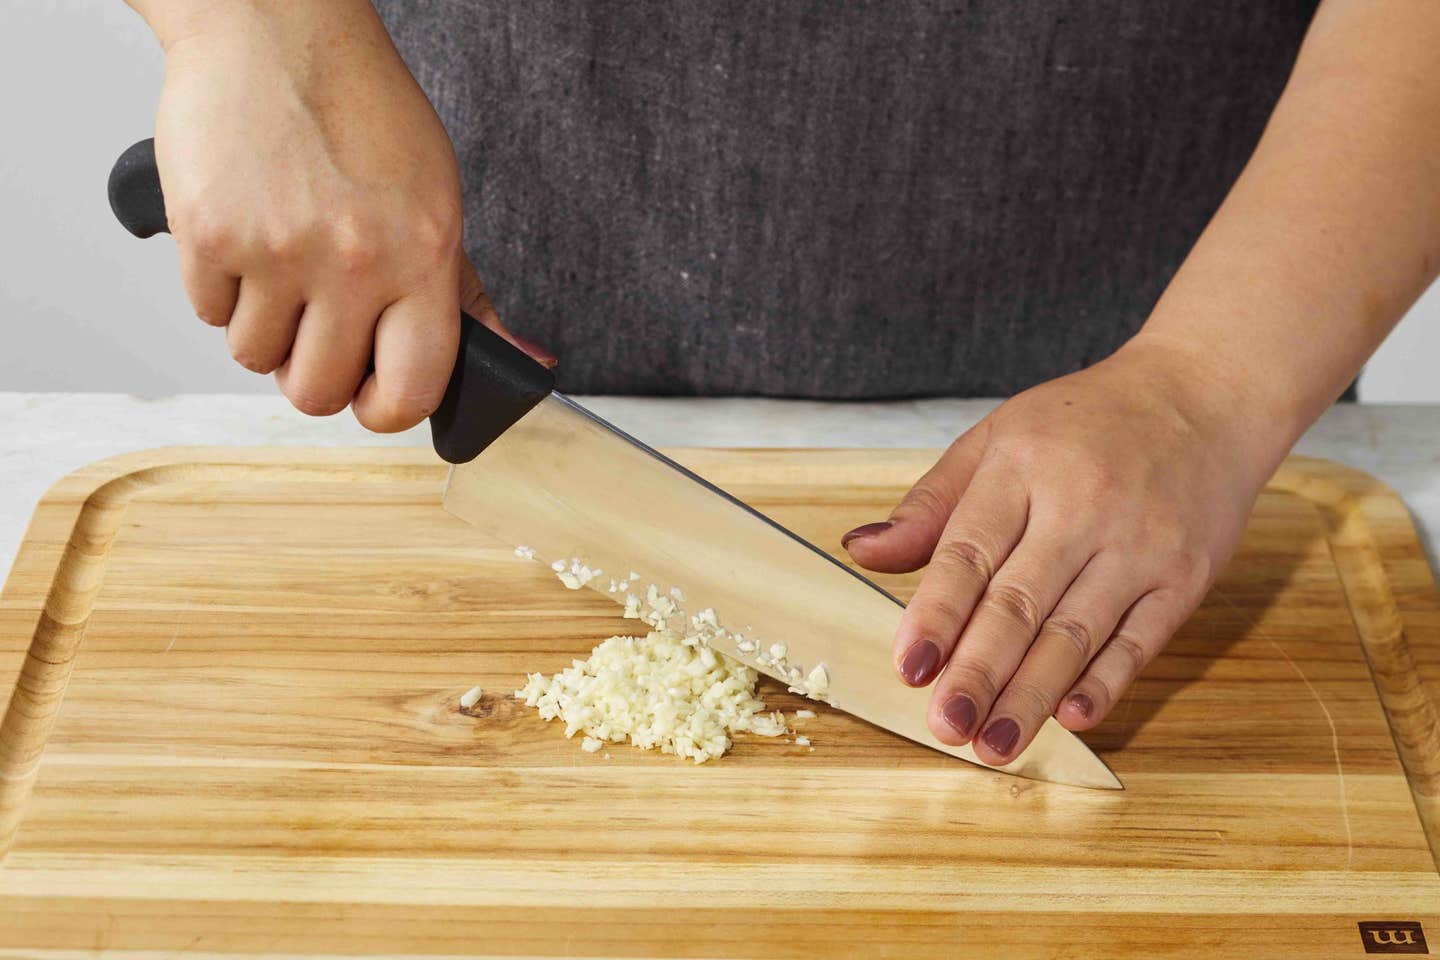
Aromatic herbs, ginger, and garlic need to be minced into fine bits that will permeate a finished dish. Place the knife next to the item to be chopped, and set your free hand flat on the tip of the knife. Hold the tip down as you move the knife heel up and down in a chopping motion, rocking back and forth over the food until it is finely minced.
4. Dice
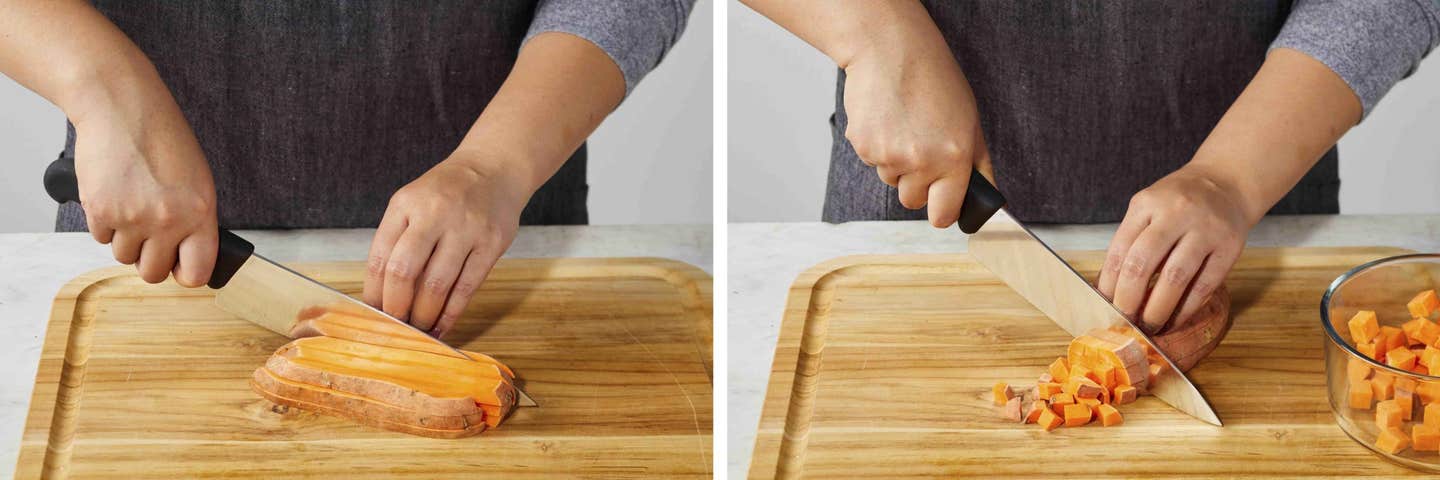
Cutting food into uniform cubes is a three-step process. First cut food into even slices. Stack 2 or 3 slices on the cutting board, then cut them lengthwise into thick sticks. Holding the sticks together with your claw hand, cut the sticks crosswise into dice. When working with large quantities of food, make room on the cutting board by transferring the dice to a bowl.
Dicing Onions
Because of their layers, dicing onions involves a specific technique.
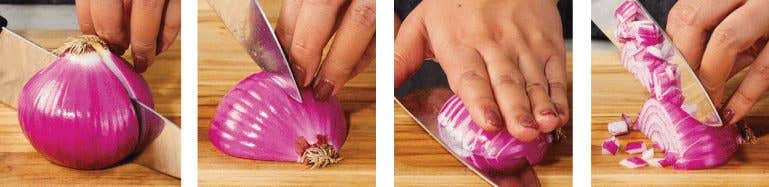
- Start by halving the onion through the stem. (Don’t remove the stem: It will hold the layers together for easier cutting.)
- Place the cut side down on the cutting board and make even lengthwise cuts, still avoiding the stem.
- Set your hand flat on top, and cut two or three horizontal slices through the middle.
- Slice the onion crosswise to release the dice.
5. Wedges
For nice potato or onion wedges, start by halving them lengthwise. Lay the halves cut side down and halve them again. Then cut through the center of each quarter to make wedges. If your wedges still seem large, halve them again. (Trim the stems of onions, cabbage, and lettuce heads, but leave them intact while cutting to hold the wedges together.)
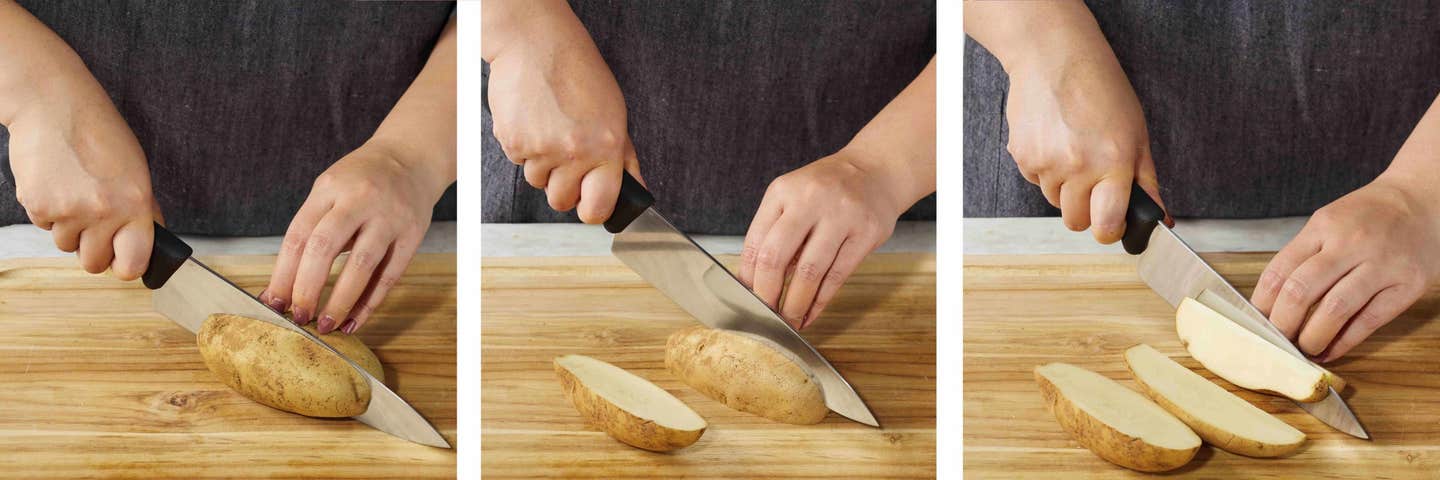
- Cut in half.
- Cut in half again.
- Cut through center to make wedge.
6. Chiffonade
The culinary term for cutting herbs and leafy greens into fluffy ribbons sounds hard, but it’s as easy as slicing. Wash and pat dry the herbs or greens before slicing so they separate easily. (For more tips on this specific technique, see How to Chiffonade.)
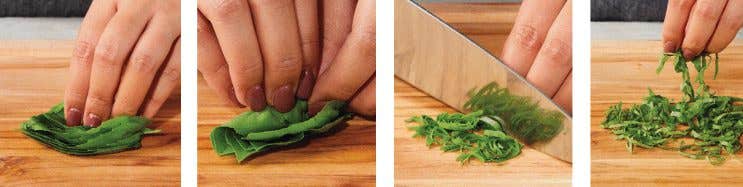
- Stack 4 or 5 leaves on a cutting board.
- Roll them into a tight cylinder.
- Slice the cylinder crosswise into thin strips.
- Separate and garnish.
The Only 3 Knives You Really Need
It’s fine to have more than a trio of kitchen knives, but these three can handle all your kitchen tasks.
1. Serrated Knife
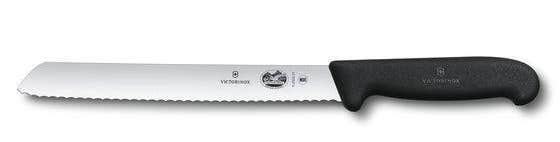
A toothy serrated knife is best for slicing crusty bread and juicy foods like tomatoes and citrus fruit. The wavy blade and ergonomic handle of the Victorinox 8⅓-inch serrated bread knife lets you cut foods clean through without needing to adjust your grip.
2. Chef's Knife

The Victorinox Fibrox 8-inch Chef’s Knife is a high-end culinary tool at a home-kitchen price. It can do it all, from hacking open hard winter squash to mincing tender fresh herbs.
3. Paring Knife
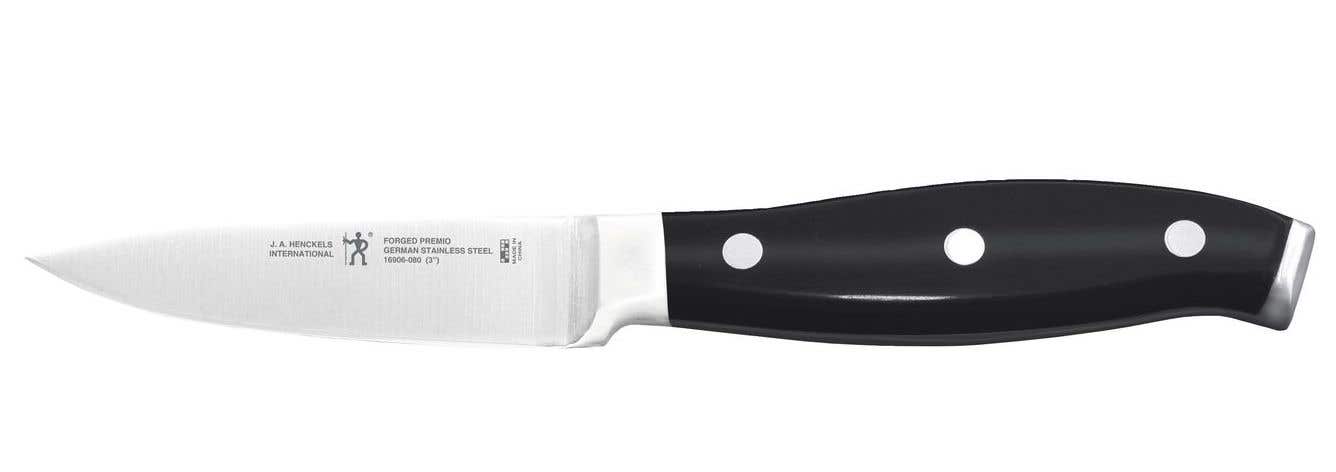
The knife you use all the time should be extra comfy to hold. The Henckels Premio 3-inch Paring Knife has a wide, curved handle that’s easy to grip and a high-quality stainless-steel blade that can be honed and sharpened—and will last a lifetime.

Related News


New Frozen Meals!
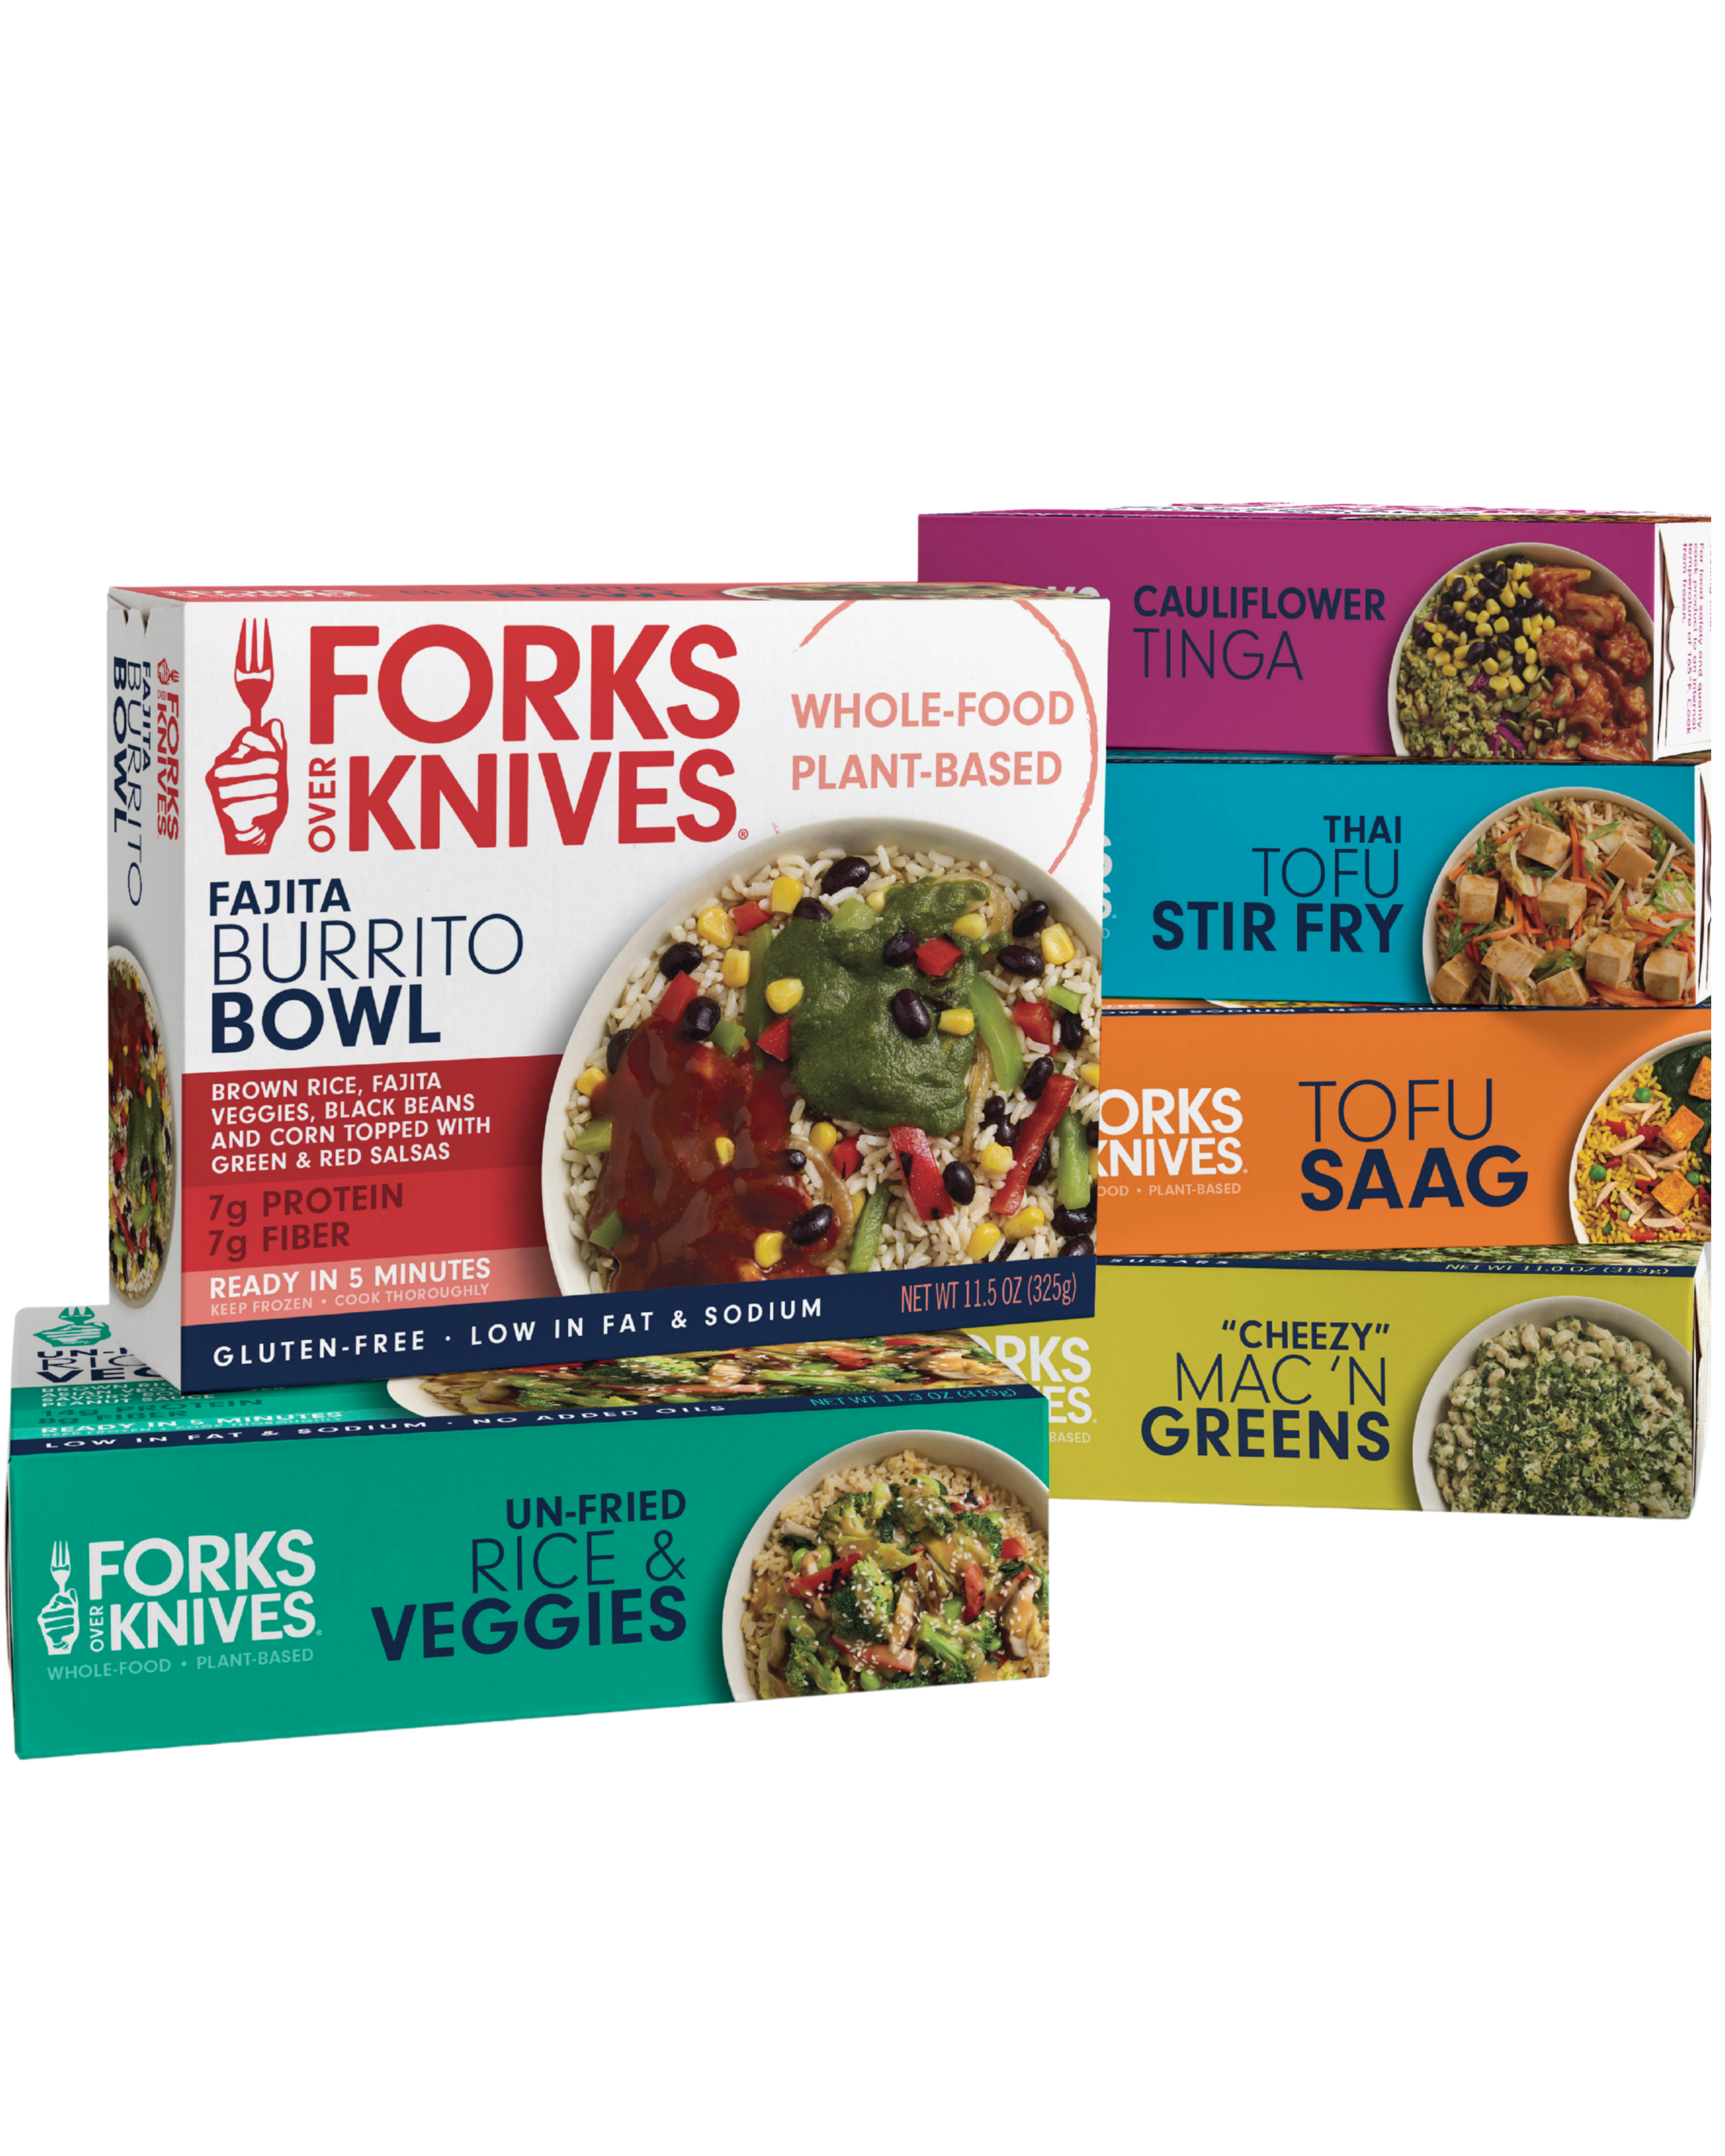
Introducing our new frozen meals: Doctor-recommended, chef-crafted, & ready in minutes.
